Table of Contents
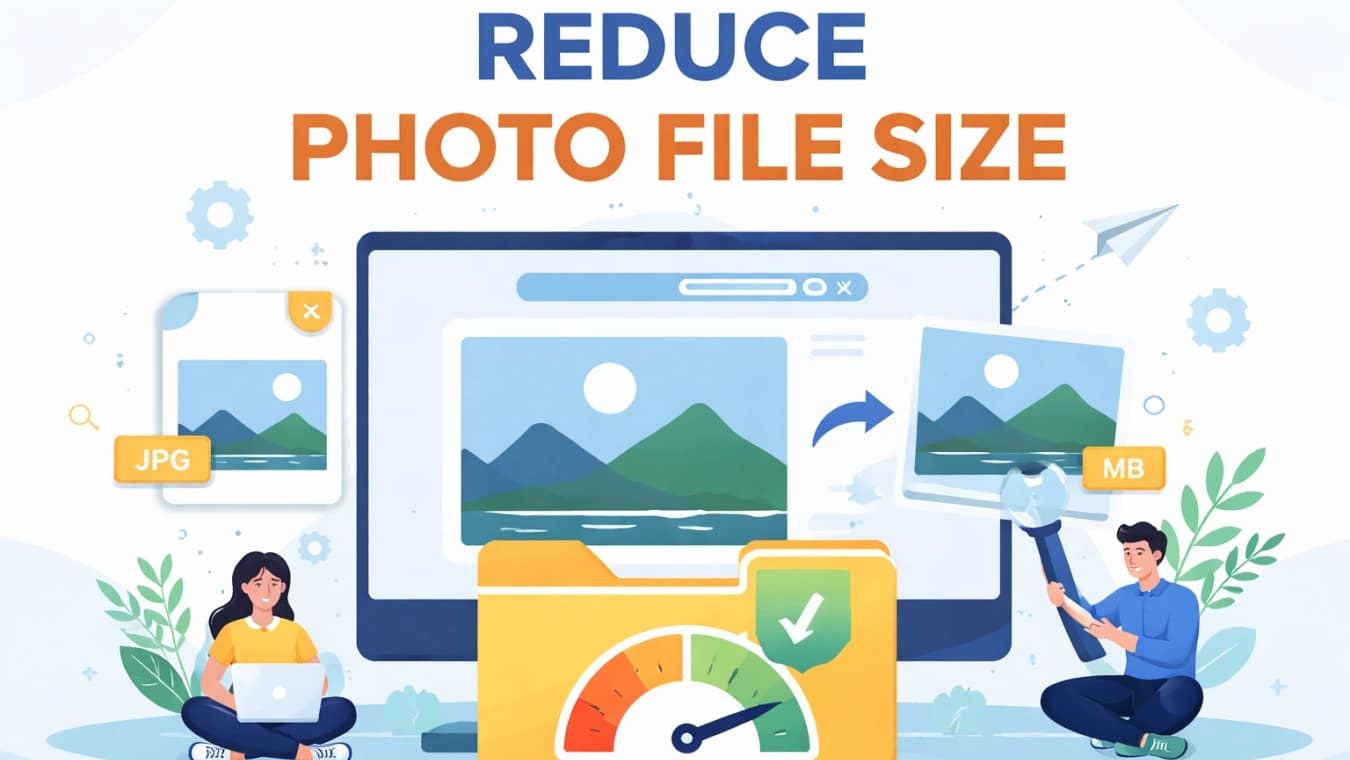
Why Reducing Photo File Size Matters for Your Online Success
In today’s digital landscape, website speed is no longer a luxury—it’s a necessity. Large, unoptimized images are one of the most common culprits behind slow-loading websites. When your photos take too long to load, you’re not just testing visitors’ patience; you’re actively harming your search engine rankings, conversion rates, and user experience.
Google’s Core Web Vitals have made page speed a direct ranking factor. Websites with optimized images load faster, rank higher, and convert better. Whether you’re running an e-commerce store, a photography portfolio, or a content-rich blog, learning how to effectively reduce photo file size should be at the top of your digital optimization checklist.
Understanding Image File Formats: Which Ones Need Compression?
Before diving into compression techniques, it’s essential to understand the different image formats and their characteristics:
JPEG/JPG: The Web Standard
- Best for: Photographs and complex images with many colors
- Compression type: Lossy (some quality loss during compression)
- File size: Medium to large
- Transparency: Not supported
PNG: For Quality and Transparency
- Best for: Graphics, logos, and images requiring transparency
- Compression type: Lossless (no quality loss)
- File size: Larger than JPEG
- Transparency: Fully supported
WebP: The Modern Alternative
- Best for: All web images (Google’s recommended format)
- Compression type: Both lossy and lossless options
- File size: 25-35% smaller than JPEG/PNG
- Browser support: Modern browsers only
SVG: For Vector Graphics
- Best for: Logos, icons, and simple illustrations
- Compression type: Text-based, highly compressible
- File size: Very small
- Scalability: Infinitely scalable without quality loss
Understanding these formats helps you choose the right approach for reducing photo file size while maintaining visual quality.
Manual Methods to Reduce Photo File Size
1. Resize Images Before Uploading
The simplest way to reduce file size is to resize images to their display dimensions. A 4000×3000 pixel photo displayed at 800×600 pixels wastes bandwidth and storage. Use photo editing software to resize images to their exact display dimensions before uploading.
2. Choose the Right File Format
Select the appropriate format based on your image type:
- Use JPEG for photographs
- Use PNG for graphics with transparency
- Convert to WebP for maximum compression
- Use SVG for vector graphics
3. Adjust Compression Levels
Most image editors allow you to adjust compression levels. For JPEGs, find the sweet spot between file size and quality—typically between 60-80% quality provides excellent results with significant size reduction.
4. Remove Metadata
Photos often contain EXIF data (camera settings, location, etc.) that adds unnecessary file size. Stripping this metadata can reduce file size by 10-20% without affecting visual quality.
The Problem with Manual Compression
While manual methods work, they come with significant drawbacks:
- Time-consuming: Processing images individually takes hours for large batches
- Inconsistent results: Different tools produce varying quality and file sizes
- Technical knowledge required: Understanding formats, compression ratios, and optimization techniques
- No automation: Every new image requires manual processing
- Quality concerns: Over-compression can ruin image quality
This is where specialized image compression tools become essential for anyone serious about web performance and SEO.
Introducing the Ultimate Solution: AiToolSoft Image Compressor Tool
After testing numerous image compression solutions, one tool consistently delivers exceptional results: AiToolSoft Image Compressor Tool. This online platform combines advanced algorithms with user-friendly design to provide the perfect balance of file size reduction and quality preservation.
Why AiToolSoft Stands Out
1. Intelligent Compression Algorithms
AiToolSoft uses sophisticated AI-powered compression that analyzes each image’s content and applies the optimal compression method. Unlike basic tools that apply uniform compression, it adapts to different image types—preserving detail in photographs while aggressively compressing graphics.
2. Batch Processing Capability
Upload hundreds of images simultaneously and process them in minutes. This feature alone saves hours compared to manual compression methods, making it ideal for e-commerce sites, photographers, and content creators.
3. Multiple Format Support
The tool handles all major image formats: JPEG, PNG, WebP, GIF, and more. It can also convert between formats, allowing you to upgrade older JPEGs to modern WebP format for maximum compression.
4. Quality Control Features
With real-time preview and quality sliders, you maintain complete control over the compression process. See exactly how your images will look after compression before downloading.
5. No Software Installation Required
As a web-based tool, AiToolSoft Image Compressor works directly in your browser. No downloads, no installations, and no system requirements—just visit their website and start compressing.
How to Use AiToolSoft Image Compressor Tool
Using this tool is remarkably straightforward:
- Visit the website: Go to https://www.aitoolsoft.com/image-compressor.html
- Upload your images: Drag and drop files or select them from your computer
- Adjust settings: Choose your preferred compression level and format
- Preview results: Check the compressed images before downloading
- Download optimized images: Get your reduced-size photos instantly
The entire process takes seconds per image, even when processing large batches.
Real-World Results: Before and After Compression
To demonstrate the effectiveness of proper image compression, let’s examine some real-world examples:
Example 1: Product Photography
- Original: 2.4MB JPEG at 100% quality
- Compressed: 450KB WebP at 85% quality
- Reduction: 81% file size reduction
- Visual difference: Imperceptible to the human eye
Example 2: Blog Feature Image
- Original: 1.8MB PNG with transparency
- Compressed: 320KB optimized PNG
- Reduction: 82% file size reduction
- Visual difference: Identical quality
Example 3: Gallery Images
- Original: 15 images totaling 42MB
- Compressed: 15 images totaling 6.3MB
- Reduction: 85% total size reduction
- Page load improvement: 3.2 seconds faster
These examples show that with the right tool, you can achieve dramatic file size reductions without compromising visual quality.
SEO Benefits of Optimized Images
Reducing photo file size isn’t just about saving storage space—it directly impacts your SEO performance:
1. Improved Page Speed Scores
Google’s PageSpeed Insights heavily penalizes sites with unoptimized images. Properly compressed images can improve your score by 20-40 points.
2. Better Core Web Vitals
Optimized images contribute to better LCP (Largest Contentful Paint) scores, a critical Core Web Vitals metric that affects rankings.
3. Reduced Bounce Rates
Faster-loading pages keep visitors engaged. Studies show that a 1-second delay in page load time can increase bounce rates by 32%.
4. Enhanced Mobile Experience
With mobile-first indexing, optimized images are crucial for mobile users who may have slower connections or data limits.
5. Improved Crawl Budget
Smaller pages are crawled more efficiently by search engines, potentially leading to better indexation of your content.
Best Practices for Image Optimization
1. Implement Lazy Loading
Lazy loading delays loading of images until they’re about to enter the viewport. This improves initial page load times significantly.
2. Use Responsive Images
Serve different image sizes based on the user’s device using the srcset attribute. This ensures mobile users don’t download desktop-sized images.
3. Leverage Browser Caching
Set appropriate cache headers so returning visitors don’t need to re-download optimized images.
4. Implement CDN for Images
Use a Content Delivery Network (CDN) to serve images from servers geographically closer to your visitors.
5. Regular Optimization Audits
Periodically audit your website for unoptimized images, especially after adding new content or products.
Common Image Compression Mistakes to Avoid
1. Over-Compression
Aggressive compression that creates visible artifacts defeats the purpose. Always preview compressed images before publishing.
2. Ignoring Different Image Types
Applying the same compression to all images results in suboptimal results. Photographs, graphics, and screenshots require different approaches.
3. Forgetting Alt Text
While not directly related to file size, alt text is crucial for SEO and accessibility. Always include descriptive alt text for all images.
4. Neglecting Image Dimensions
Uploading images larger than their display dimensions wastes bandwidth. Always resize before compressing.
5. One-Time Optimization
Websites evolve, and new images get added. Make image optimization part of your regular content workflow, not a one-time project.
Conclusion: Start Optimizing Today
Reducing photo file size is one of the most effective ways to improve website performance, enhance user experience, and boost SEO rankings. While manual methods work for occasional optimization, dedicated tools like AiToolSoft Image Compressor provide the efficiency, consistency, and results needed for serious web optimization.
The benefits are clear: faster loading times, better search rankings, improved user engagement, and reduced hosting costs. With tools now available that make the process quick and effortless, there’s no reason to continue struggling with large, unoptimized images.
Ready to transform your website’s performance? Visit AiToolSoft Image Compressor today and experience the difference optimized images can make. Start with a few test images and see the dramatic file size reductions for yourself—your website visitors and search rankings will thank you.

